
Candle Care 101: Burn Tips & Safety from Ninth House Studio
Candle Tips & Tricks
Because great candles deserve great habits
Let’s make sure your new favourite flame lives up to the hype. Whether you’re setting the mood or just taking the edge off a Tuesday, these simple tips will help your candle burn cleaner, throw better, and last longer.
No PhD in fire required—just a little care, a decent wick trimmer, and this handy guide.
How to Use it:
-
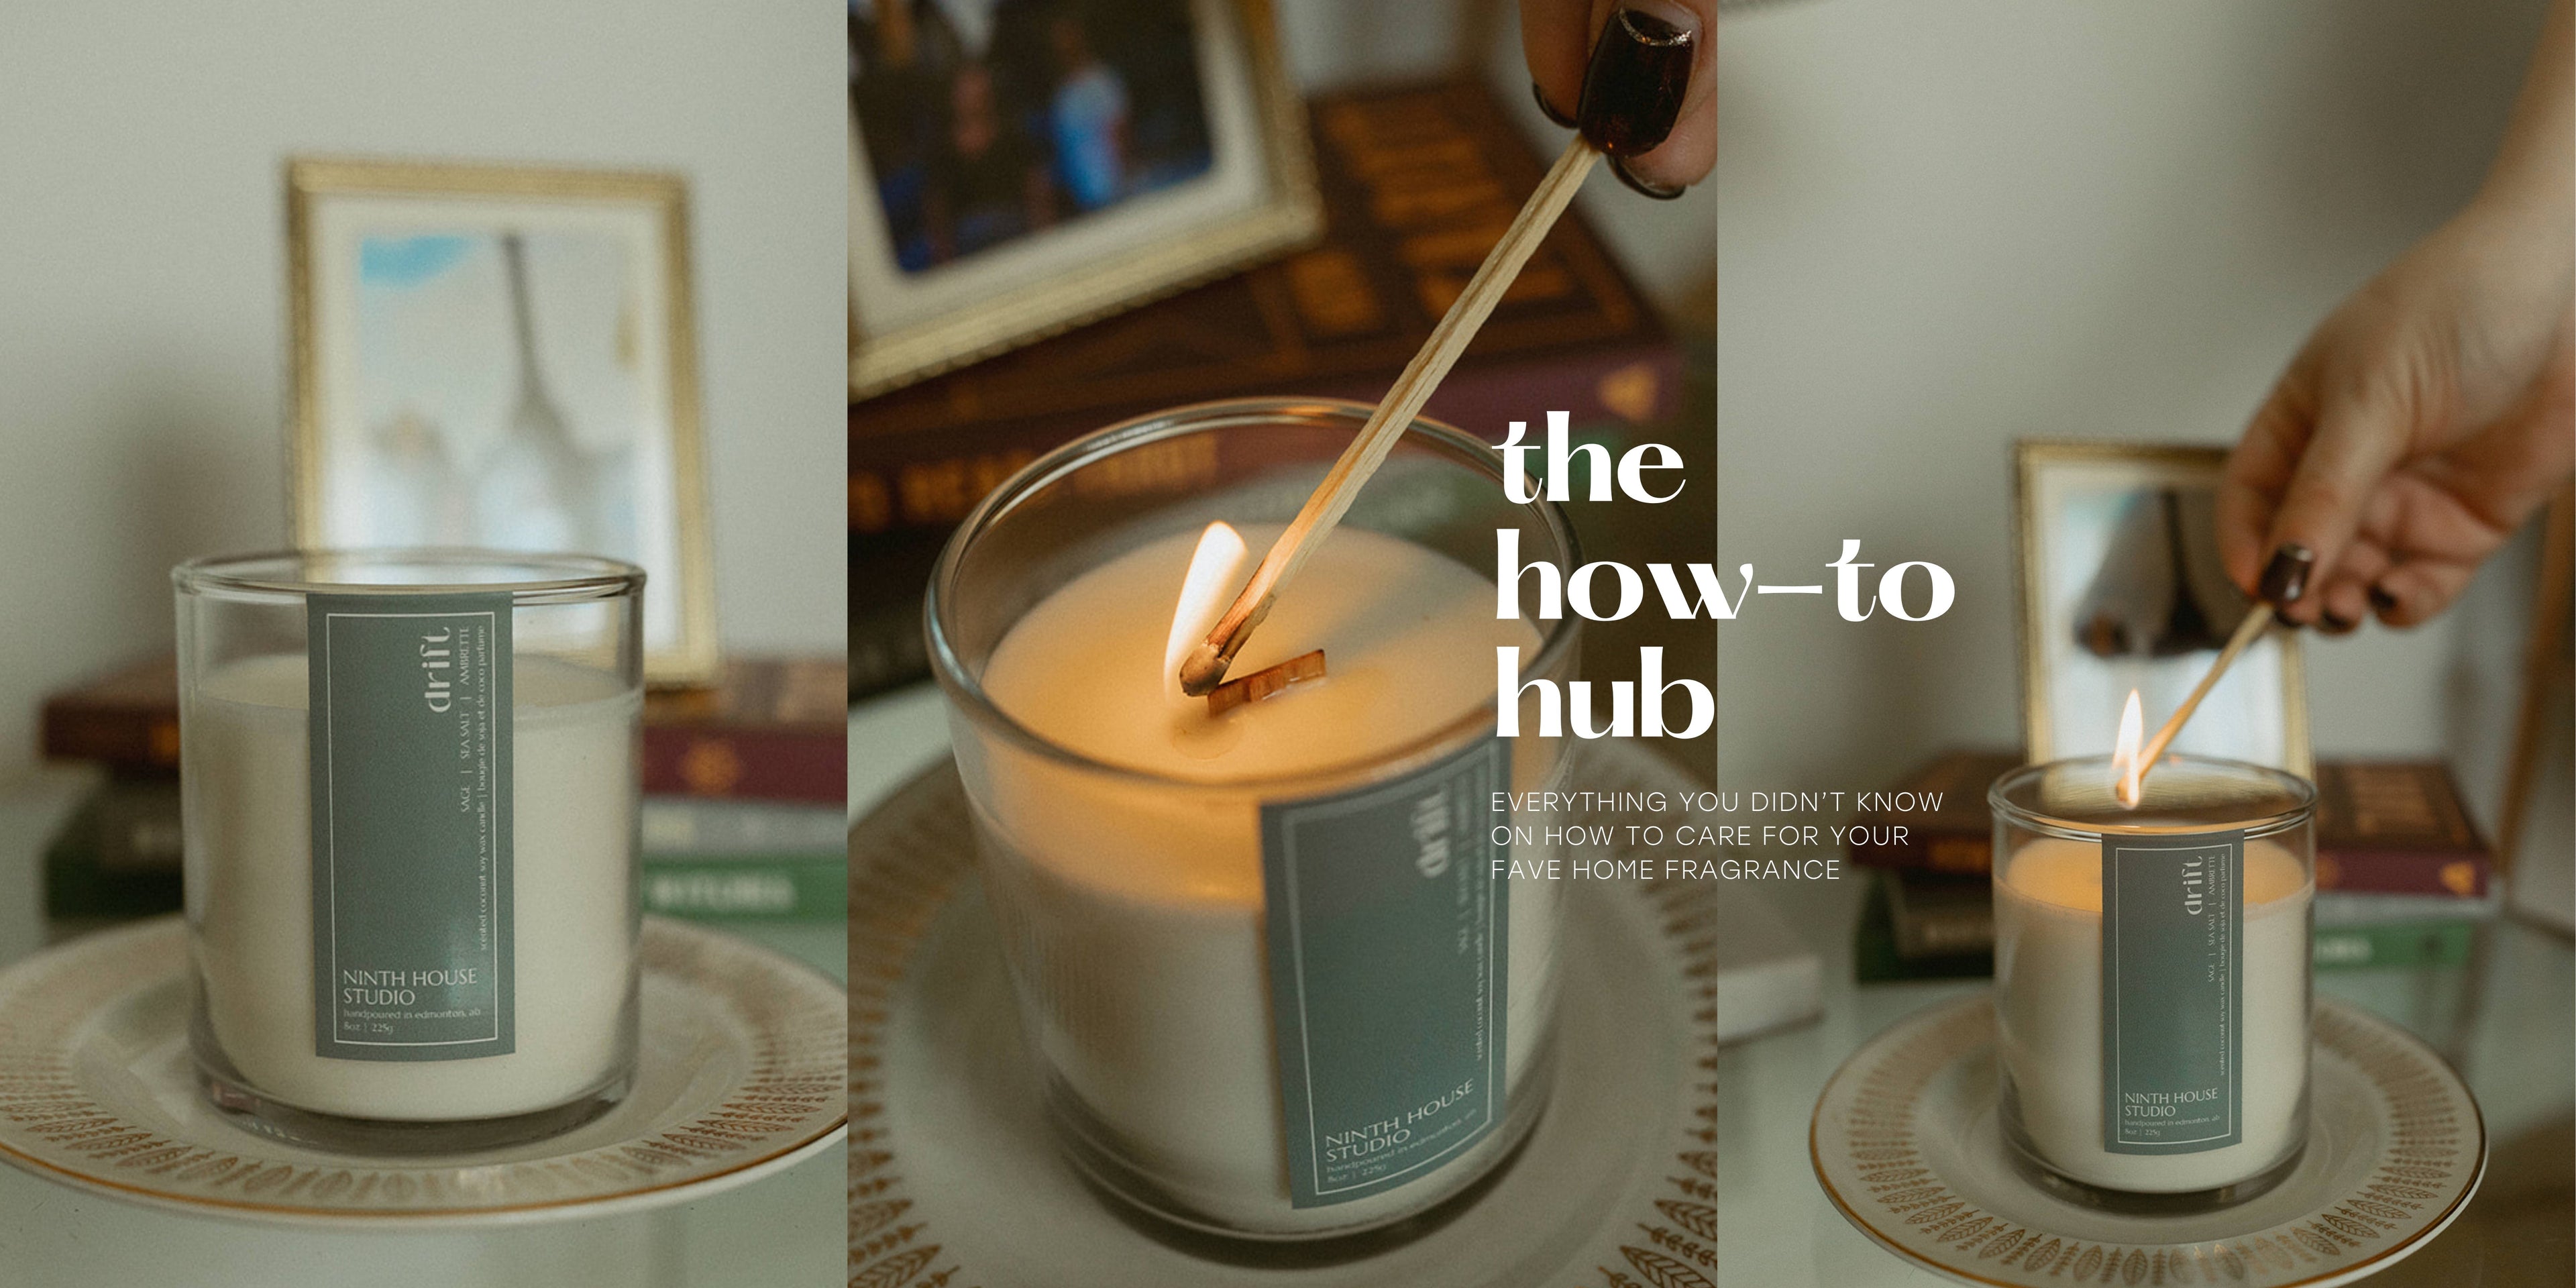
Trim your wick: Every. Single. Time. Before lighting, trim the wick to about ¼ inch. For wood wicks, snap or clip off the charred bits—this keeps the flame in check and helps it burn smooth.
-
First burn = most important: Let the wax melt all the way to the edges on the first go. This helps prevent tunnelling (that sad little sinkhole in the centre) and sets the stage for even burns every time.
PS! A little wax hang up on the sides is normal for a fresh candle and will level out as you burn down but try to keep it to around ¼ inch!
-
Keep the wax clean: No dust, no wick bits, no rogue fuzzies. A tidy candle is a happy candle.
-
Set a burn limit: Let it go for 2–4 hours at a time. Burning longer can overheat the jar and mess with the scent. Consider this your candle’s version of a lunch break.
Relighting Tips:
-
Let it cool completely before trimming and relighting. And if your flame’s struggling to stay lit, it probably needs a little trim—not a full-blown rescue mission.
When it's Done:
-
Stop at the ½ inch mark: Seriously—once there’s only half an inch of wax left, it’s time to say goodbye. Burning past this point risks overheating the glass.
-
Reuse the jar: Once cooled, clean out the jar and give it a second life. Makeup brushes, matches, Q-tips, paper clips... go wild.
Where to Burn it:
-
Pick a safe, flat surface away from windows, fans, heaters, or anything flammable. And never leave a lit candle unattended (your future self will thank you).
Wooden Wick Best Practices
Wooden wicks have a little personality. They burn wider, crackle softly, and prefer a bit of intention. Here’s how to keep yours happy.
- Trim shorter than cotton: Wooden wicks like it neat. Before each burn, trim or snap off the blackened tip so the wick sits at about ⅛ inch. Too long and the flame can struggle or get smoky.
- The crackle is subtle: This isn’t a bonfire situation. Wooden wicks offer a gentle, sometimes-there crackle that can change from burn to burn depending on airflow, room acoustics, and how recently the wick was trimmed.
- If it goes out, don’t panic: Let the candle cool completely, trim the wick, and relight. Wooden wicks often just need a reset, not a dramatic intervention.
- Calm air is key: Drafts can interfere with how wooden wicks burn. For best results, keep candles away from open windows, vents, or fans.
- Wider flame, even burn: Wooden wicks are designed to create a broader melt pool, which helps your candle burn evenly when cared for properly. Trust the process.
Safety stuff (read this part):
-
Never burn near anything that could catch fire. Keep out of reach of pets and littles. Don’t move a candle while it’s lit or the wax is hot.
-
Yes, our candles are clean-burning—but open flame is still open flame!